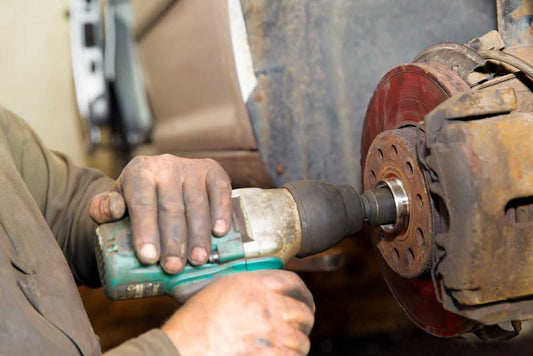
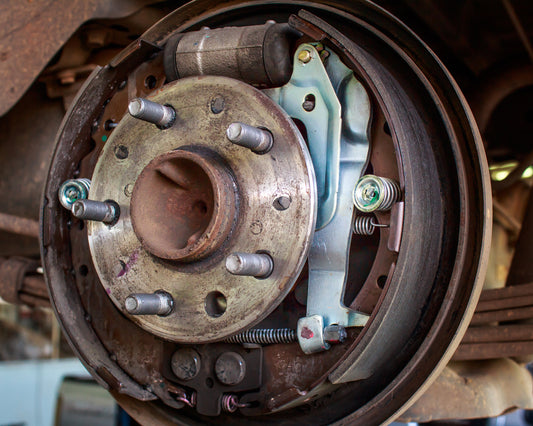
If you remember last months’ Tricks Tuesday Blog posts, we covered Rear Drum Brake Inspections. This month, we will cover front wheel brake inspection. It will broken into several posts and will feature the same 2004 Toyota Tacoma pickup as you can see below.
Step 1. Place your vehicle on a lift, host or jack stands so that the front end is elevated and you have easy access to the brakes.
 Step 1
Step 2. Wheel bearing problems can sometimes show up as low brake pedal problems. With the vehicle on the hoist the wheel is right in front of you, so grasp it as shown, and check for bearing play or looseness before any actual disassembly takes place. You should also spin the wheel assembly to check for bearing roughness.
 Step 2
Step 3. Also, grasp the wheel, in this case the RF, at the three and nine o’clock position and shake it inward and outward. This check is really for steering system looseness but if there is a steering issue or looseness, you would want to catch the problem now and alert the customer rather than after you repair the brakes. Spending money on a complete brake job and then hearing about another issue isn’t the way to keep customers happy.
 Step 3
Step 4. Loosen the lug nuts as you normally would but after they are removed, don’t just take off the wheel and put it on the floor.
 Step 4
Step 5. First, mark which stud a specific wheel hold was on. The purpose of doing this is to be able to return the wheel to exactly the same position if needed. Why would this be needed? A shake after reinstallation is the most common reason. If you don’t mark the assembly, you have no way to eliminate wheel mounting as a potential issue.
 Step 5
Step 6. Also, mark the location of where the tire/wheel was removed from. By doing this, you can be sure to put it back in the same position or knowledgeably rotate it as you wish. Tires can easily be stacked when off a vehicle or placed next to each other and be mixed from where they were removed.
 Step 6
Step 7. The first test in a disc brake inspection is to check the caliper to see if it slides freely. Simply grasp the caliper, as shown, and attempt to move it in and out. If you can’t get any movement out of it at all, it’s an indication that it’s frozen or partially frozen. This will frequently lead to accelerated pad wear, either inner or outer pad wear, depending if it’s frozen inward or outward.
 Step 7
 Step 8
Step 8. You might not think that checking a bleeder valve is part of a brake inspection but it really is. If the bleeder valve is frozen and you can’t open it to flush the brake system after a reline, even if the calipers were not replaced, you have a problem. Checking the valve to see if it can be opened before doing any actual work is the smart thing to do. It’s not suggested that you break the valve attempting to open it but go to the point just before it breaks before saying the caliper needs replacement for a frozen bleeder valve reason.
Step 9. Use common sense when attempting to open a bleeder valve. The minimum you should do is use a six point wrench such as the special bleeder wrench shown. The new 3/8” drive battery hammer impacts with a six point socket also work very well.
 Step 9
We will have more of the story on how to properly perform a front wheel brake inspection next week for Tech Tricks Tuesday.
You can also follow us on Social Media to know more of what we are up to and to get even more tips and tricks.


