Part 3 of our coverage on checking for brake problems is already here. You can read part 1 and part 2 if you missed them.
Step 9
Another item that is important to check is the parking brake equalizer rod. Grasp it with your fingers and wiggle it. If it’s not lose check to see if it’s frozen onto the shoe or if the parking brake cable is excessively tight or frozen in the applied position.

Step 10
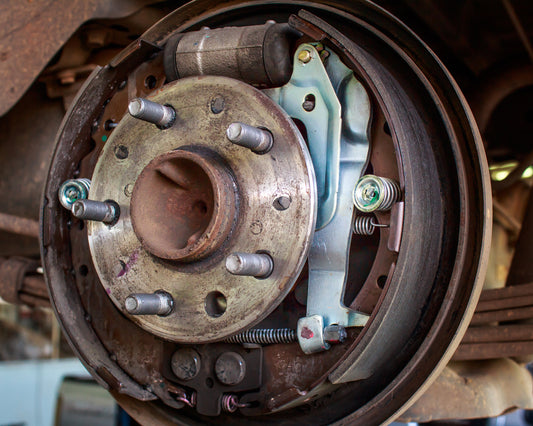
The brake shoes on the LF while not perfect in their contact area are far better than the shoes on the RR. There is perhaps a 50% plus difference in the barking force of the two rear wheels. This is a major difference and makes the condition of the LR locking up understandable. Note: The actual root cause to the problem stated has yet to be identified.

Step 11
The brake shoes are now removed from the vehicle and something surprising was noted when the hold down pin spring and end retainer was removed. It took very little pushing in to remove the end retainer and even less inward pressure required to reinstall it. You have just identified a major clue to why the shoes were wearing incorrectly but you still haven’t found the complete answer.

Step 12
The primary and secondary shoe return springs were removed next. The person doing this brake work is extremely experienced and noted the spring tension just didn’t seem right on these springs.

We will have more of the story on checking for brake problems next week for Tech Tricks Tuesday.
You can also follow us on Social Media to know more of what we are up to and to get even more tips and tricks.


