This week we will be covering part 2 of how to lubricate brakes. You can read
Part 1 here.
Step 8 Frequently a thickness range of abutment clips comes with new pads. This allows a tech to select the correct thickness to still allow sliding movement while prevent rotational movement.

Step 9 The abutment clips are all stamped with their thickness so once you install a low value or base line clip you can then step up in thickness in a controlled manner.

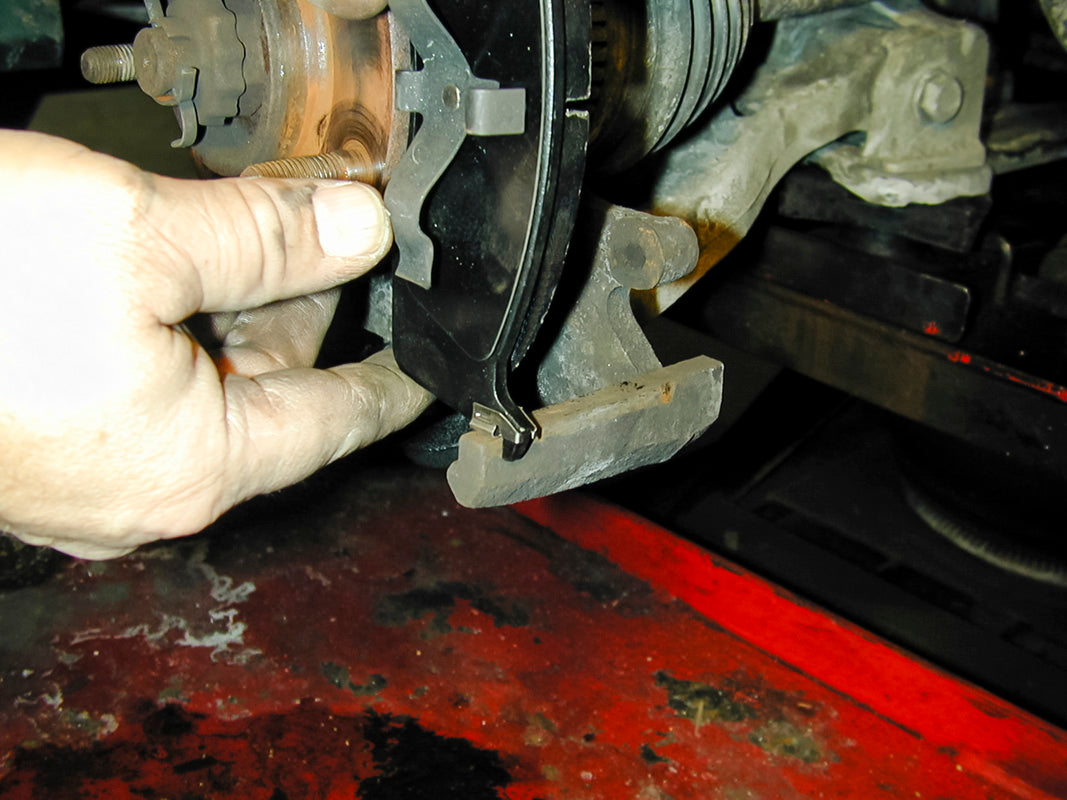
Step 10 Install the lowest value abutment clip on the pad.

Step 11 Then install the brake pad on the bracket. Test for excessive movement. If it feels to loose install the next thicker clip and test again. Continue until you install a clip that restricts movement then move back one thickness.

Step 12 Be sure that the caliper bracket ears that engage the pad ends are clean. Many techs will use a wire wheel, wire brush or a small abrasive pad on an air tool to clean the bracket contact area. While this may work there is a better way.

Step 13 By using a file and “drawing” it across the caliper bracket you are assured of not having an angled or dished pad mounting area. If this surface is not straight and smooth the pad will not slide correctly during brake application and release.

You can also follow us on Social
Media to know more of what we are up to and to get even more tips and tricks.


