This week we will be covering part 3 to our front brake relining blog post feature for September. You can read part 1 and part 2 on our Blog. The next weeks we will specifically cover the disc pad replacement and rotor service portion of our September feature.
Step 19
When you have a rotor that uses tapered roller bearings, be sure to completely wash out the complete hub. Don’t just wipe it out and say “good enough”. Likewise, most techs don’t believe in putting in any extra grease into the center hub area. Some will put a light coat of grease into the center hub area but don’t glob in handfuls of grease. It does no good whatsoever.

Step 20
Wash the roller bearing until they rattle. At that point, continue to brush into the cage of the bearing from the open face while you rotate the bearing assembly. This will allow you to quickly wash out all the old grease.

Step 21
After the bearing has been washed, blow through the assembly. Do this from the larger end to the tapered end. DO NOT allow the bearing to spin when blowing through it.

Step 22
When mounting a rotor on a lathe, be sure to use an alignment spacer such as the one shown with the black band in the middle. This is actually a multi-piece spacer that allows for equal pressure to be applied to the mounting cones.

Step 23
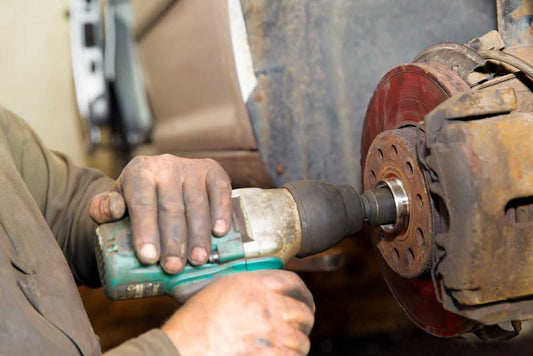
When tightening the spindle nut on the lathes arbor shaft, spin the rotor while initially tightening the spindle nut. This will help in maintaining proper rotor mounting.

Step 24
Always check a rotors thickness before turning it. By checking before turning, you quickly know if the rotor has enough material on it to be able to be turned.

We will have more of the story on disc pad replacement and rotor service next week for Tech Tricks Tuesday.
You can also follow us on Social Media to know more of what we are up to and to get even more tips and tricks.


